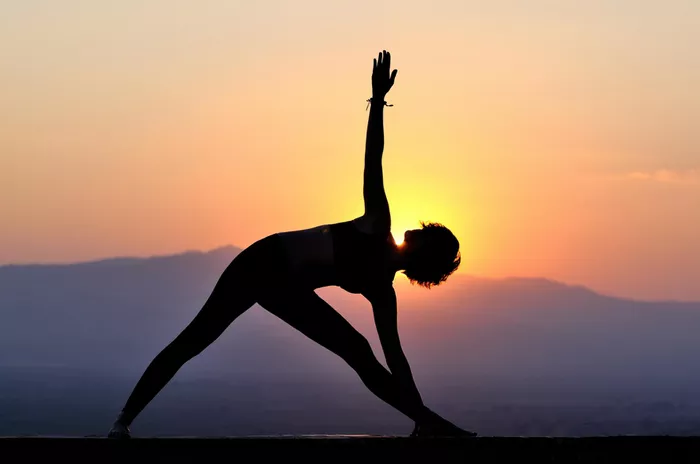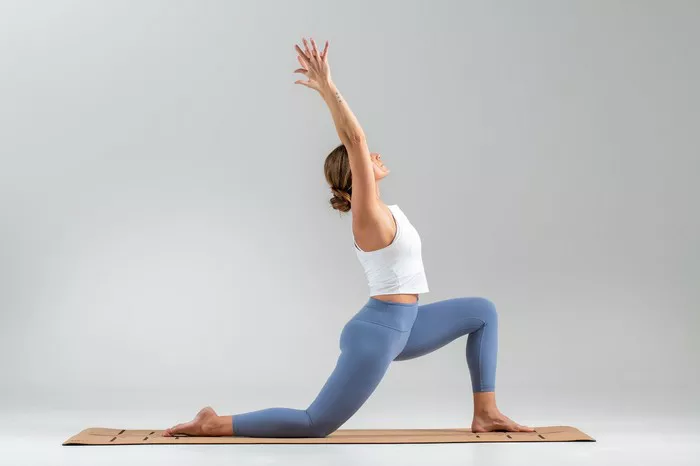
Yoga has been practiced for thousands of years to promote physical well-being, mental clarity, and spiritual growth. Among the many poses in yoga, Tree Pose—or Vrikshasana—is a fundamental standing balance posture that symbolizes grounding and grace. For beginners, mastering Tree Pose can build strength, focus, and balance both physically and mentally. This guide provides a detailed, step-by-step explanation of how to perform Tree Pose correctly and safely, along with helpful tips and FAQs.
What Is Tree Pose (Vrikshasana)?
Tree Pose, known in Sanskrit as Vrikshasana (Vriksha = tree, Asana = posture), is a standing balance pose that mimics the steady stance of a tree. The pose encourages stability, balance, and concentration, requiring you to stand on one leg while the other foot is placed on the inner thigh or calf of the standing leg. The hands are typically brought together in a prayer position or raised above the head.
This pose is suitable for all skill levels and can be easily modified to accommodate beginners. It strengthens the legs, tones the core, improves posture, and enhances mental focus.
Benefits of Tree Pose
Practicing Tree Pose regularly offers numerous benefits to both the body and the mind. These include:
Physical Benefits
- Improves Balance and Coordination: Standing on one leg challenges your proprioception and builds coordination.
- Strengthens Legs and Core: Tree Pose activates muscles in the thighs, calves, ankles, and core, contributing to muscular endurance.
- Enhances Posture: Engaging the spine and standing tall can correct postural imbalances.
- Boosts Flexibility: It stretches the inner thighs, groin, and shoulders, promoting flexibility.
Mental and Emotional Benefits
- Promotes Focus and Concentration: The balance required forces the mind to be present, improving mindfulness.
- Reduces Stress and Anxiety: Like most yoga poses, Tree Pose has calming effects on the nervous system.
- Builds Confidence: Successfully balancing increases self-assurance and inner strength.
Preparation Before Practicing Tree Pose
Before attempting Tree Pose, it is important to prepare both your body and mind to ensure a safe and effective practice.
Warm-Up Exercises
Warming up is crucial to avoid strain or injury. Perform the following simple movements for 5–10 minutes:
- Ankle Rolls: Rotate your ankles in circles to increase joint mobility.
- Hip Circles: Loosen the hips with gentle circular motions.
- Leg Swings: Swing one leg forward and back, then side to side, to loosen hip flexors and hamstrings.
- Tadasana (Mountain Pose): Stand tall and breathe deeply to center yourself.
Mental Preparation
- Choose a Focus Point (Drishti): Pick a non-moving object in front of you to fix your gaze. This helps maintain balance.
- Practice Mindful Breathing: Inhale and exhale slowly to prepare your nervous system and improve focus.
Step-by-Step Guide to Tree Pose
Follow this step-by-step guide carefully. Perform each step with awareness, paying attention to body alignment and breath.
Step 1 – Start in Mountain Pose (Tadasana)
- Stand tall with feet together.
- Keep your arms relaxed at your sides.
- Distribute your weight evenly across both feet.
- Engage your thighs, lift your kneecaps slightly, and tuck in your tailbone.
- Inhale deeply and roll your shoulders back and down.
Step 2 – Shift Your Weight
- Shift your weight onto your left foot.
- Keep the left leg strong and straight but not locked.
- Root down through all four corners of your left foot.
Step 3 – Position the Right Foot
- Bend your right knee and bring the sole of your right foot to the inner left thigh or calf.
- Avoid placing the foot directly on the knee joint.
- If necessary, use your hands to position the foot properly.
- Beginners can place the foot on the ankle with toes touching the ground for stability.
Step 4 – Find Your Balance
- Bring your palms together in front of your chest in Anjali Mudra (prayer position).
- Fix your gaze (Drishti) on a point ahead to steady yourself.
- Engage your core muscles to support balance.
Step 5 – Extend the Arms (Optional)
- Once stable, raise your arms overhead, keeping palms together or shoulder-width apart.
- Reach upwards without shrugging the shoulders.
- Keep breathing steadily and evenly.
Step 6 – Hold and Breathe
- Hold the pose for 20–60 seconds.
- Focus on maintaining balance and breathing deeply.
- If you lose balance, return to Mountain Pose and try again.
Step 7 – Release the Pose
- Lower your arms back to your chest.
- Gently lower the right foot to the floor.
- Return to Mountain Pose and repeat on the other side.
Modifications and Variations for Beginners
Tree Pose can be adapted in several ways to suit your skill level and body type. Beginners should not be discouraged if they struggle initially—balance improves with practice.
Beginner-Friendly Modifications
- Use a Wall: Stand near a wall for support until you’re more confident.
- Lower Foot Placement: Place the foot at the ankle or shin rather than the thigh.
- Hands on Hips: Keep your hands on your hips if prayer position or overhead arms are too challenging.
Variations for Progression
- Close Eyes: Try closing your eyes for a deeper balance challenge.
- Opposite Side Arm Movements: Move arms independently to develop coordination.
- Flowing Transitions: Incorporate Tree Pose into a Vinyasa sequence to improve fluidity.
Common Mistakes and How to Avoid Them
Tree Pose may look simple, but several common mistakes can compromise its effectiveness or lead to injury.
Mistake 1 – Placing Foot on the Knee
- Problem: This stresses the knee joint and may cause injury.
- Fix: Always place the foot above or below the knee.
Mistake 2 – Hunching Shoulders
- Problem: Tight shoulders and poor posture.
- Fix: Keep shoulders relaxed and spine elongated.
Mistake 3 – Not Engaging the Core
- Problem: Wobbling and difficulty maintaining balance.
- Fix: Engage abdominal muscles gently to stabilize the torso.
Mistake 4 – Holding the Breath
- Problem: Loss of focus and tension build-up.
- Fix: Maintain a steady, calm breath throughout the pose.
Safety Tips and Contraindications
While Tree Pose is generally safe, it’s important to consider certain precautions.
Who Should Avoid or Modify Tree Pose
- Individuals with severe balance disorders
- People recovering from ankle, knee, or hip injuries
- Those with high blood pressure (should avoid raising arms overhead without guidance)
Safety Guidelines
- Practice on a non-slip yoga mat.
- Avoid practicing on a hard or uneven surface.
- Don’t force your leg higher than is comfortable.
- Always listen to your body.
Tips for Improving Balance Over Time
Balance is a skill that develops gradually with consistent practice. Here are some strategies to enhance it over time:
- Practice Daily: Even a few minutes daily will help develop muscle memory.
- Strengthen Core Muscles: Include core exercises in your routine.
- Use Visual Cues: Pick a steady visual point to maintain focus.
- Practice Barefoot: This enhances proprioception and stability.
Integrating Tree Pose Into Your Yoga Routine
Tree Pose can be practiced as part of your daily yoga session or as a standalone exercise.
Suggested Routine
- Start with breathing exercises or a short meditation.
- Warm up with Mountain Pose, forward folds, and gentle leg stretches.
- Practice Tree Pose on both sides.
- Follow with other standing poses like Warrior II or Triangle Pose.
- Conclude with a seated stretch and relaxation.
Conclusion
Tree Pose, or Vrikshasana, is a foundational yoga posture that embodies balance, focus, and grace. Although it may present challenges at first, especially for beginners, its benefits far outweigh the initial difficulty. Through consistent practice, mindful alignment, and patient progression, Tree Pose can become a favorite posture that strengthens both body and mind.
Whether you’re looking to improve your balance, build leg strength, or center your thoughts, Tree Pose is a versatile and accessible pose for everyone. By following this step-by-step guide, even complete beginners can learn to enjoy the rewards of this timeless yoga practice.
FAQs
How long should a beginner hold Tree Pose?
Beginners should aim to hold Tree Pose for 20 to 30 seconds on each side, gradually increasing the time as balance and strength improve.
Can I do Tree Pose every day?
Yes, Tree Pose is safe to practice daily and doing so can significantly improve your balance and concentration over time.
Why do I keep falling out of Tree Pose?
Falling is normal when you start. Make sure you’re using a focus point, engaging your core, and positioning your foot correctly (not on the knee). Practicing near a wall can also help build initial confidence.
Is Tree Pose suitable for seniors?
Absolutely, with modifications. Seniors should consider using a wall for support and placing the foot lower on the standing leg to reduce strain.
Can I do Tree Pose if I have knee pain?
Yes, but avoid placing your foot on the knee and do not force the leg into a high position. Always consult with a medical professional or a yoga instructor for personalized advice.
What does Tree Pose symbolize?
Tree Pose symbolizes grounding, growth, and resilience. Like a tree, it teaches you to root deeply while reaching high, balancing strength with grace.
Related Topics: