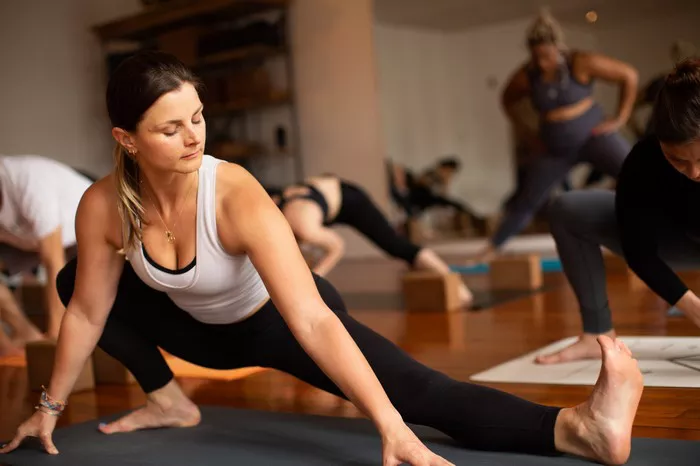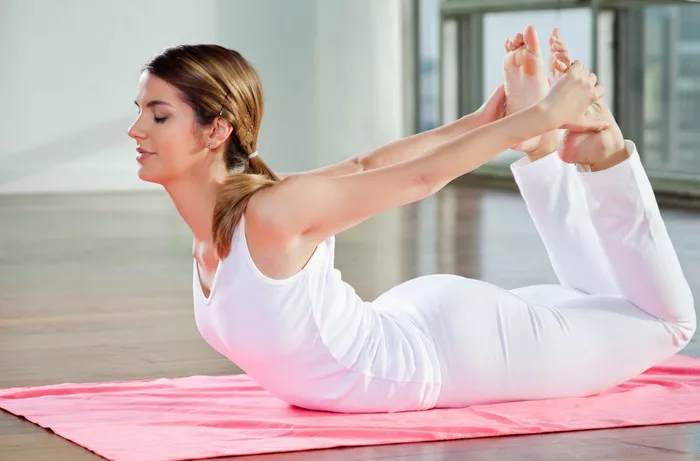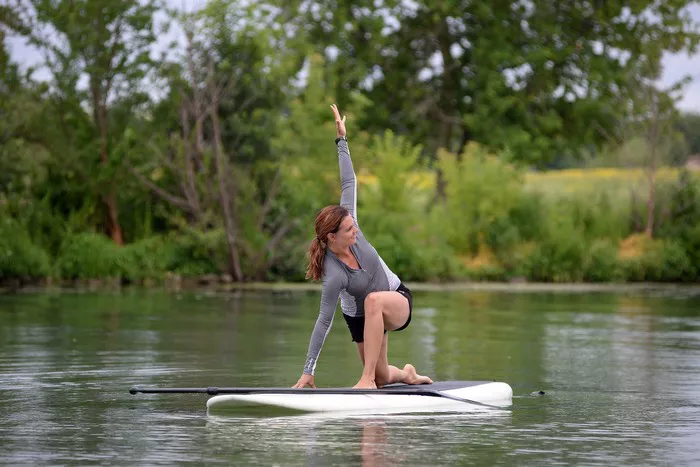
Lower back pain is a common issue affecting millions of people worldwide. Whether caused by prolonged sitting, poor posture, stress, or injury, the discomfort can be debilitating and disruptive. Yoga, with its gentle stretching and strengthening movements, offers a holistic and effective way to alleviate this pain. In this article, we explore the eight best yoga exercises for lower back pain relief, offering step-by-step instructions, benefits, and tips for each pose.
Understanding Lower Back Pain
Lower back pain originates from a variety of causes, including muscular strain, herniated discs, spinal stenosis, and degenerative disc disease. In many cases, poor posture, weak core muscles, and lack of flexibility contribute to the problem. Yoga addresses these root causes by improving alignment, increasing flexibility, and strengthening the muscles that support the spine. Consistent practice can also reduce stress, a known contributor to muscular tension and chronic pain.
Why Yoga Helps with Lower Back Pain
Yoga is particularly effective for back pain because it combines physical movement, mindfulness, and breathwork. The postures help stretch tight muscles and strengthen weak areas, especially the core and glutes, which are critical for back support. Furthermore, the focus on deep breathing and body awareness can reduce tension and promote relaxation, essential for managing chronic pain conditions. Yoga poses also encourage better posture and alignment, decreasing the strain on the lower back.
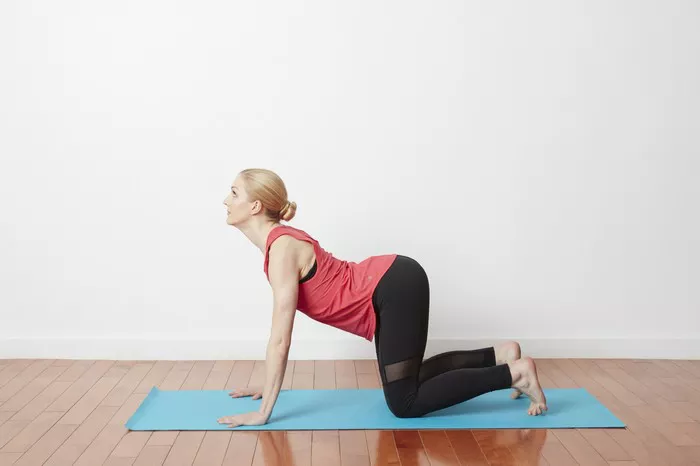
1. Cat-Cow Stretch (Marjaryasana-Bitilasana)
The Cat-Cow stretch is a gentle, flowing movement that warms up the spine and increases flexibility. It promotes spinal mobility and eases tension in the lower back.
How to Perform:
- Start in a tabletop position with your hands under your shoulders and knees under your hips.
- Inhale, drop your belly towards the mat, lift your head and tailbone (Cow Pose).
- Exhale, round your back, tucking your chin to your chest and drawing your navel toward your spine (Cat Pose).
- Repeat for 10-15 rounds, moving slowly with your breath.
Benefits:
- Increases flexibility in the spine.
- Relieves tension in the back and neck.
- Improves posture.
2. Child’s Pose (Balasana)
Child’s Pose is a restorative pose that gently stretches the lower back and hips. It’s ideal for calming the nervous system and providing a gentle release for tight muscles.
How to Perform:
- Kneel on the floor, bring your big toes to touch, and sit back on your heels.
- Lower your torso between your thighs and extend your arms forward or place them alongside your body.
- Rest your forehead on the mat and breathe deeply.
- Hold the pose for 1–3 minutes.
Benefits:
- Gently stretches the spine, hips, and thighs.
- Reduces stress and fatigue.
- Encourages relaxation and deep breathing.
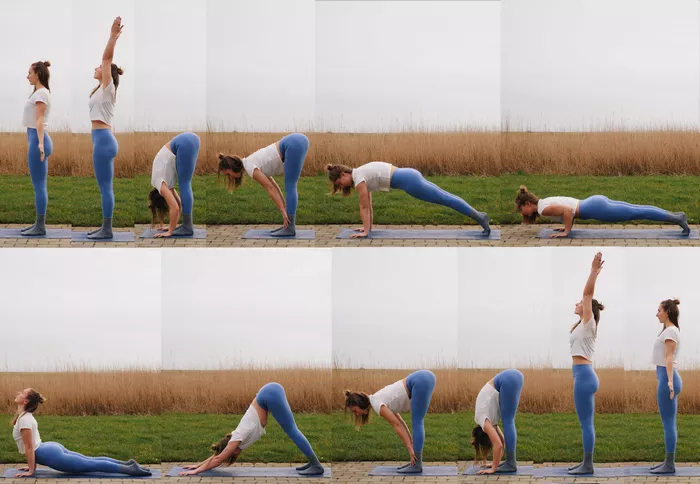
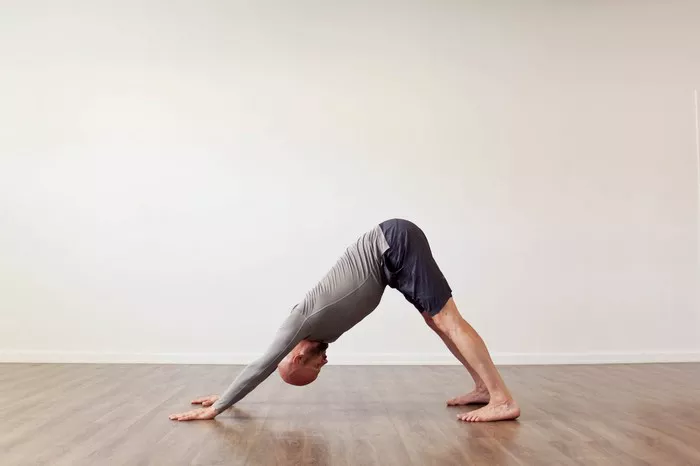
3. Downward-Facing Dog (Adho Mukha Svanasana)
This iconic yoga pose stretches the entire back body, including the spine, hamstrings, and calves. It strengthens the shoulders and helps relieve compression in the lower back.
How to Perform:
- Start in a tabletop position.
- Tuck your toes and lift your hips towards the ceiling.
- Straighten your legs as much as possible without locking your knees.
- Press your hands firmly into the mat and keep your head between your arms.
- Hold for 30 seconds to 1 minute.
Benefits:
- Decompresses the spine.
- Strengthens the arms and shoulders.
- Improves flexibility in hamstrings and calves.
4. Sphinx Pose (Salamba Bhujangasana)
The Sphinx Pose is a gentle backbend that strengthens the spine and supports the lower back. It’s particularly helpful for individuals with sedentary lifestyles.
How to Perform:
- Lie on your stomach with your legs extended and feet hip-width apart.
- Place your elbows under your shoulders, forearms parallel on the floor.
- Lift your chest while keeping your hips and legs grounded.
- Gaze forward and hold the pose for 1–2 minutes.
Benefits:
- Strengthens the spine and buttocks.
- Opens the chest and lungs.
- Encourages gentle lumbar extension.
5. Supine Twist (Supta Matsyendrasana)
This reclining twist helps release tension in the lower back and massages the internal organs. It is ideal for improving spinal mobility and digestion.
How to Perform:
- Lie on your back with your legs extended.
- Draw your right knee to your chest.
- Cross it over your body to the left while keeping your shoulders grounded.
- Extend your right arm to the side and gaze toward your right hand.
- Hold for 1–2 minutes, then switch sides.
Benefits:
- Relieves lower back pain and stiffness.
- Stimulates digestion and detoxification.
- Enhances spinal flexibility.
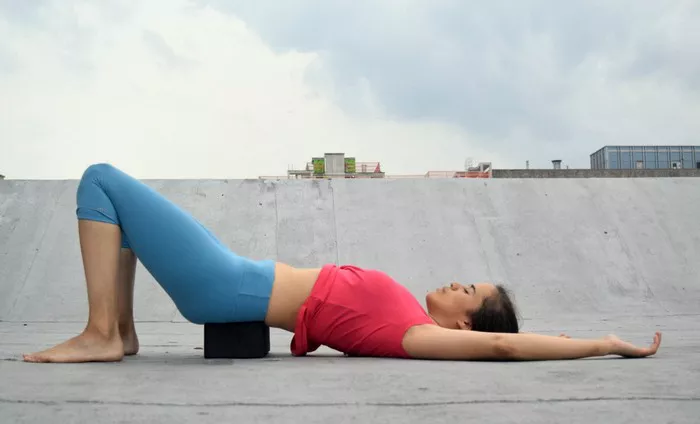
6. Bridge Pose (Setu Bandhasana)
Bridge Pose is excellent for strengthening the back, glutes, and hamstrings. It also helps open the chest and hip flexors, which can become tight from prolonged sitting.
How to Perform:
- Lie on your back with knees bent and feet flat on the floor, hip-width apart.
- Place your arms alongside your body, palms facing down.
- Press into your feet and lift your hips toward the ceiling.
- Clasp your hands beneath your back and roll onto your shoulders.
- Hold for 30 seconds to 1 minute.
Benefits:
- Strengthens the posterior chain.
- Improves posture.
- Opens the front of the body.
7. Reclining Pigeon Pose (Supta Kapotasana)
This pose targets the piriformis muscle and glutes, which often contribute to lower back pain due to tension or tightness.
How to Perform:
- Lie on your back with both knees bent.
- Cross your right ankle over your left thigh.
- Thread your right arm through the gap and clasp your hands behind your left thigh.
- Gently pull your legs toward your chest.
- Hold for 1–2 minutes, then switch sides.
Benefits:
- Stretches the hips, glutes, and lower back.
- Reduces sciatic pain.
- Improves hip mobility.
8. Legs-Up-The-Wall Pose (Viparita Karani)
This passive inversion promotes relaxation and helps reduce inflammation and pressure in the lower back. It’s ideal for winding down after a long day.
How to Perform:
- Sit sideways next to a wall and swing your legs up as you lower your back to the floor.
- Adjust your hips so they rest close to the wall.
- Let your arms rest at your sides, palms facing up.
- Breathe deeply and hold for 5–10 minutes.
Benefits:
- Eases pressure on the lower back.
- Enhances circulation.
- Promotes relaxation and recovery.
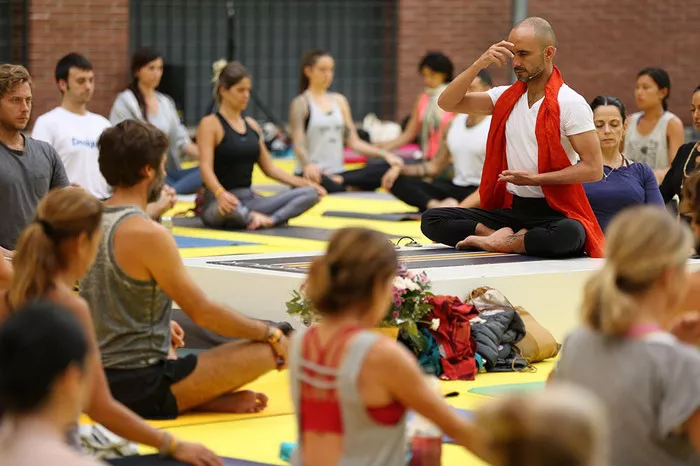
Additional Tips for Practicing Yoga for Back Pain
- Warm Up: Always start with a gentle warm-up to prepare your muscles.
- Listen to Your Body: Avoid any poses that cause sharp or intense pain.
- Use Props: Yoga blocks, bolsters, and straps can make poses more accessible.
- Stay Consistent: Regular practice yields the best results. Aim for at least three sessions per week.
- Consult a Professional: If you have severe or persistent pain, consult a healthcare provider before beginning yoga.
Conclusion
Yoga offers a natural, low-impact solution for managing lower back pain. The eight exercises outlined in this article are not only effective but also accessible to beginners and advanced practitioners alike. With consistent practice, increased mindfulness, and proper technique, you can significantly reduce lower back discomfort and enhance your overall well-being. Remember to approach your yoga journey with patience, respect for your body, and a commitment to healing from within.
Related Topics: