Yoga blocks are essential props in many yoga practices. They provide support, stability, and alignment, making it easier to execute certain poses, especially for beginners or those with limited flexibility. While yoga blocks can be bought from various retailers, making your own at home can be a satisfying, cost-effective, and eco-friendly option. Additionally, homemade yoga blocks allow you to customize the size and texture to your preference. This article will guide you step-by-step on how to make yoga blocks at home using materials that are commonly available.
Why Use Yoga Blocks?
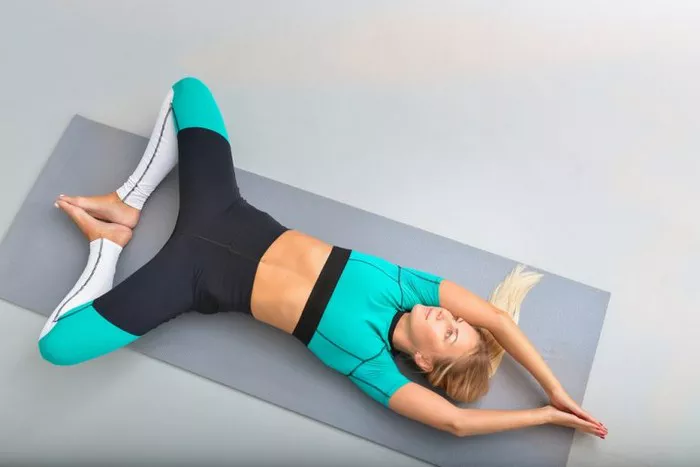
Before we delve into the specifics of making yoga blocks, it’s important to understand why these props are used in yoga practice:
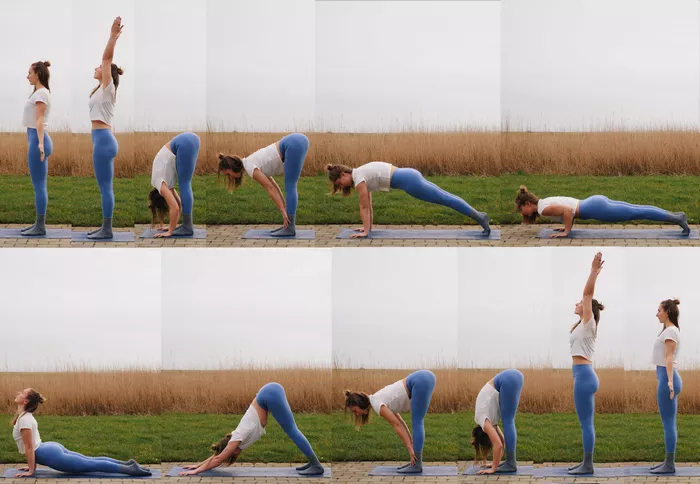
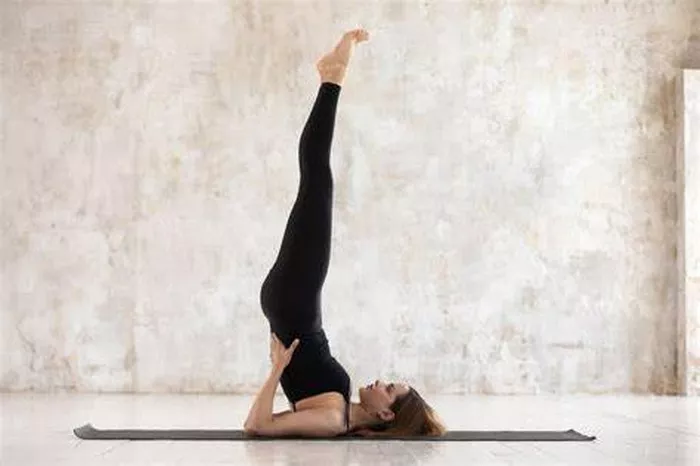
Support: Blocks provide extra height in poses like forward folds or seated stretches, allowing you to maintain proper form without straining.
Alignment: Blocks help maintain proper alignment, especially for those who are new to yoga or have physical limitations.
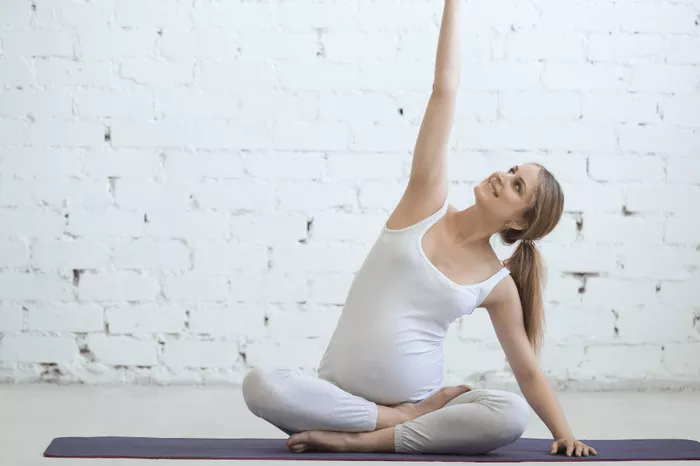
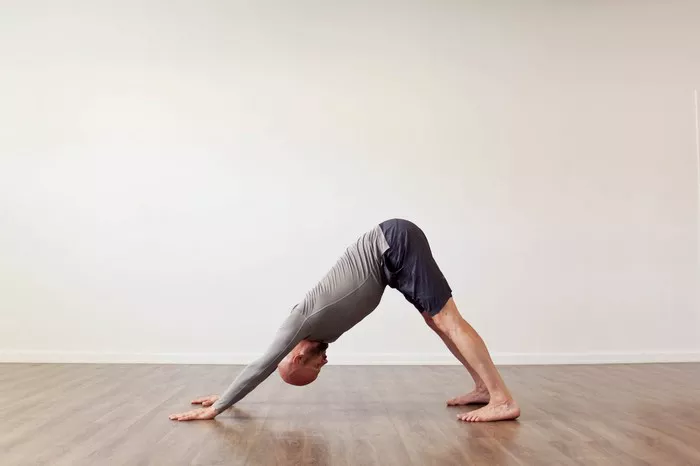
Balance: They can be used to help with balance poses by elevating hands or feet, offering a wider base of support.
Flexibility: Blocks enable you to gently increase the range of motion in your practice, particularly when you’re working on flexibility.
Comfort: In certain poses, blocks provide extra cushioning, preventing discomfort during long holds.
Now that we understand their value, let’s move on to how you can make yoga blocks at home.
Materials You Will Need
Making yoga blocks at home is a simple process, but it does require some materials that you likely already have or can easily obtain. Below is a list of materials you may need:
1. Foam (High-Density or Medium-Density)
The most common material for yoga blocks is foam. Foam blocks are light, durable, and provide sufficient cushioning for most practices. You’ll want to choose a high-density foam for a more firm block, or a medium-density foam for a softer block.
Where to Find Foam:
- Foam cushions (old furniture cushions, mattresses, or pillow foam)
- Foam boards from craft stores
- Foam sheets or foam blocks (can be purchased online)
Recommended Dimensions: Typically, yoga blocks are around 9 inches long, 6 inches wide, and 4 inches high. You can customize the dimensions based on your needs.
2. Wood (Optional for Firmer Blocks)
If you prefer a firmer block, you can use wood. A wooden yoga block is more durable and provides more stability but is heavier than foam. The wood can be sanded to smooth out rough edges and then sealed or stained for a polished finish.
Where to Find Wood:
- Plywood sheets (available at most hardware stores)
- Old wooden furniture (reclaimed wood)
- Wooden crates or pallets
Recommended Dimensions: Similar to foam blocks, wooden blocks typically measure 9 x 6 x 4 inches, but you can adjust the size to fit your preference.
3. Fabric or Cloth
If you’re making fabric-covered blocks, you will need a thick, durable fabric. A tightly woven cotton or canvas fabric is ideal for covering foam blocks, as it is sturdy and easy to sew.
Where to Find Fabric:
- Fabric stores
- Old sturdy clothes (for repurposing)
- Online retailers specializing in fabrics
4. Scissors or a Craft Knife
A pair of sharp scissors or a craft knife is needed for cutting foam, fabric, or wood. For foam, you might also want a serrated edge knife for clean cuts.
5. Glue or Adhesive
If you’re using fabric or other materials for a custom design or finish, you’ll need a strong adhesive. Fabric glue, superglue, or hot glue guns work well for this purpose.
6. Sandpaper (If Using Wood)
If you’re working with wood, sandpaper is a must. You’ll want to smooth the edges of the wood blocks to prevent splinters and rough surfaces that could damage your yoga mat or skin.
Recommended Grit: Start with coarse grit (80) and finish with fine grit (220) for a smooth finish.
7. Paint, Stain, or Sealant (Optional)
If you’re using wood, you might want to finish your block with paint, wood stain, or a clear wood sealer to protect it from wear and tear.
Recommended Products:
- Non-toxic wood paints or stains
- Eco-friendly sealant
- Chalk paint for a matte finish
Step-by-Step Guide to Making Yoga Blocks at Home
Now that you have your materials, let’s dive into the process of creating your yoga blocks. There are two main methods we’ll explore: making foam blocks and wooden blocks.
Making Foam Yoga Blocks
Making foam yoga blocks is the easiest and quickest method. Here’s how to do it:
Materials:
- High-density foam or medium-density foam
- Scissors or serrated knife
- Fabric (if desired for covering)
Instructions:
Measure and Cut the Foam:
Take your foam sheet and measure out the dimensions for the block. A standard yoga block measures 9 inches long, 6 inches wide, and 4 inches high.
Using a sharp pair of scissors or a craft knife, carefully cut the foam to your desired size. If you’re using a serrated knife, be sure to cut evenly and avoid compressing the foam too much.
Smooth the Edges:
Once the block is cut, examine the edges. If the edges are rough, you can gently trim them with scissors or use a fine-toothed saw to smooth them out.
If necessary, you can also use sandpaper to soften the edges.
Optional Fabric Covering:
If you want a fabric-covered block for added aesthetic appeal or comfort, cut your fabric into pieces large enough to wrap around the foam.
Use fabric glue or a hot glue gun to secure the fabric to the foam block. Start by gluing one edge of the fabric to one side of the foam, then pull the fabric around and glue it to the opposite side. Make sure the fabric is tight and free of wrinkles.
Trim off any excess fabric, and make sure the fabric is securely glued along all edges.
Allow the Glue to Dry:
If you used glue, allow the fabric to dry completely before using the block. This usually takes 1-2 hours depending on the adhesive you used.
Making Wooden Yoga Blocks
Wooden blocks are sturdier than foam ones but require more effort to craft. If you’re looking for a firmer block that will last for years, this method is ideal.
Materials:
- Wood (plywood or reclaimed wood)
- Saw (hand saw or circular saw)
- Sandpaper (medium to fine grit)
- Wood glue (optional)
- Paint, stain, or wood sealant (optional)
Instructions:
Measure and Cut the Wood:
Measure out the dimensions for your yoga block. A standard yoga block is 9 x 6 x 4 inches, but you can adjust this if you prefer a different size.
Using a saw, carefully cut the wood to the desired dimensions. If you’re working with plywood, ensure that it is at least 1 inch thick for stability.
Smooth the Edges:
After cutting the wood to size, smooth the edges using sandpaper. Start with medium grit (80) to remove any rough areas, then finish with fine grit (220) for a smooth, polished surface.
Assemble the Blocks (If Using Multiple Pieces):
If you’re creating a block using multiple pieces of wood, use wood glue to secure them together. Apply a thin layer of glue on the edges and press the pieces together firmly. Allow the glue to dry completely (usually 24 hours).
Optional Staining and Sealing:
If you want to stain or paint your wooden blocks for added protection or aesthetics, apply a coat of non-toxic paint or wood stain to the block.
After the stain or paint has dried, you can seal the wood with a clear wood sealant to protect it from moisture and damage during use.
Let the Block Cure:
Allow the block to cure for a few hours to ensure the wood glue or finish is fully set.
Customizing Your Yoga Blocks
1. Personalized Designs:
Add a unique touch to your yoga blocks by using stencils or freehand painting to decorate them. You can paint affirmations, symbols, or designs that resonate with your practice.
2. Textured Surfaces:
For extra grip, you can add textured surfaces to your blocks. If you’re using foam, consider wrapping it with a non-slip fabric or adding rubber feet to a wooden block to prevent it from sliding on the floor.
3. Color and Finish:
Whether you’re using foam or wood, adding a finish such as paint or stain can make your blocks more visually appealing and durable.
Conclusion
Making your own yoga blocks at home is a fun and rewarding project that allows you to personalize your yoga practice while saving money. Whether you choose to craft foam blocks for a soft, lightweight option or wooden blocks for a firmer, longer-lasting alternative, you’ll have the satisfaction of creating something useful and meaningful for your practice. Remember to always prioritize comfort, safety, and durability when making your yoga props, as they are an essential tool in enhancing your practice and achieving better alignment, balance, and flexibility.
By following the simple instructions outlined above, you can create blocks that are tailored to your needs and aesthetic preferences. Happy crafting and yoga practicing!
Related Topics: