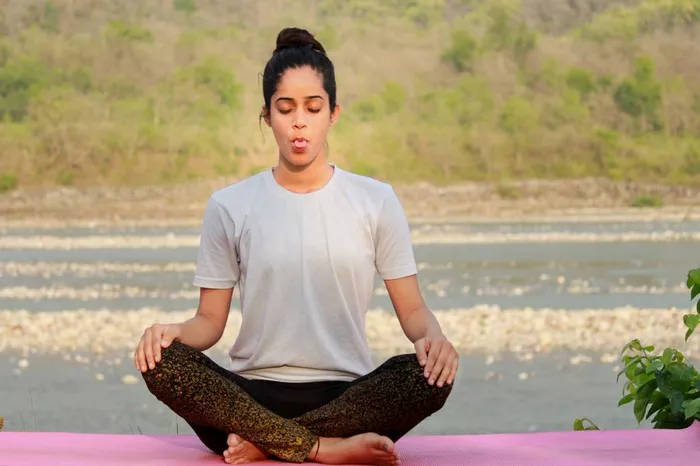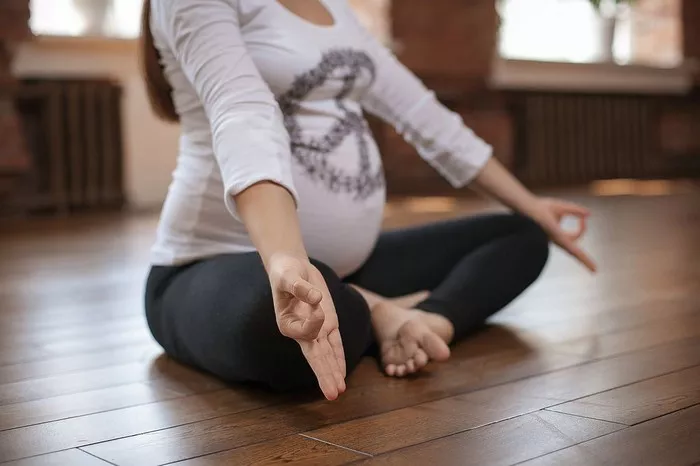
Restorative yoga is a gentle and therapeutic practice designed to help you relax deeply and release tension from the body and mind. Unlike more dynamic forms of yoga, restorative poses are typically held for several minutes and supported with props like blankets, bolsters, and blocks to allow complete rest and restoration. This beginner-friendly guide explores the 11 most restorative yoga poses, detailing their benefits and how to perform them properly.
What Is Restorative Yoga?
Restorative yoga emphasizes stillness and long-held postures that stimulate the parasympathetic nervous system—the body’s natural mechanism for rest and digestion. By practicing restorative yoga, you encourage deep relaxation, reduce stress hormones like cortisol, and promote a sense of well-being. This style is particularly beneficial for individuals experiencing chronic stress, fatigue, anxiety, or those recovering from illness or injury.
A typical restorative session includes fewer poses than a conventional yoga class, often held for 5 to 20 minutes each. The focus is not on stretching or strength but on surrendering to the pose and allowing the body to open gradually. Props are essential in this practice, enabling comfort and encouraging muscles to release completely.
Benefits of Restorative Yoga
- Deep relaxation: Extended poses stimulate the vagus nerve and slow down the heart rate.
- Reduced stress and anxiety: A calm nervous system improves emotional resilience.
- Improved sleep: Relaxation prepares the body for restful and restorative sleep.
- Pain management: Helps alleviate chronic pain by reducing muscle tension.
- Enhanced flexibility: Gentle support allows gradual lengthening of tissues without strain.
- Increased body awareness: Holding stillness allows you to tune into subtle sensations and breath.
Practicing restorative yoga poses regularly can help reset your nervous system, making it a valuable complement to more vigorous forms of movement or a healing practice on its own.
1. Supported Child’s Pose (Balasana)
Child’s Pose is naturally calming and grounding. When supported with props, it becomes a deeply nourishing position for the back, hips, and nervous system.
How to Do It:
- Kneel on your mat with your big toes touching and knees apart.
- Place a bolster or two stacked pillows between your knees.
- Slowly fold forward, letting your torso rest fully on the support.
- Turn your head to one side and switch after a few minutes.
- Rest your arms alongside the bolster or extend them forward.
Hold for 5–10 minutes, focusing on slow, even breathing.
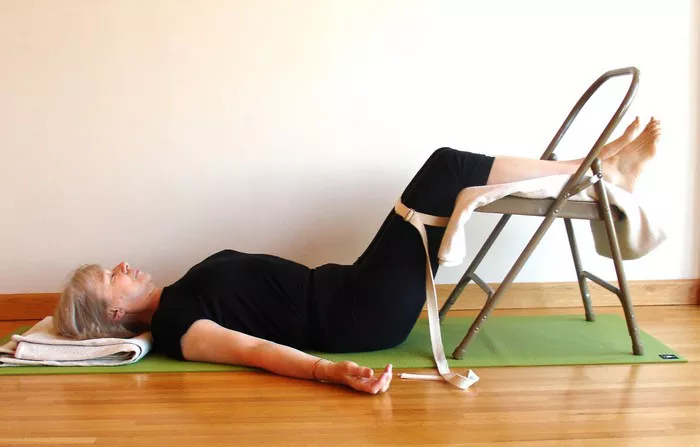
2. Reclining Bound Angle Pose (Supta Baddha Konasana)
This heart-opening posture is excellent for releasing tension in the hips and groin while promoting emotional ease.
How to Do It:
- Lie on your back and bring the soles of your feet together.
- Let your knees fall open to the sides.
- Place blocks or folded blankets under your thighs for support.
- Use a bolster or pillow under your spine for a slight backbend.
Stay for 5–15 minutes, breathing into the chest and belly.
3. Legs Up the Wall (Viparita Karani)
This inversion is incredibly soothing and known to reduce swelling in the legs and calm the nervous system.
How to Do It:
- Sit sideways next to a wall.
- Lie back and swing your legs up against the wall.
- Adjust a bolster under your hips for more comfort.
- Rest your arms at your sides, palms facing up.
Hold for 10–20 minutes, allowing the breath to slow naturally.
4. Supported Bridge Pose (Setu Bandhasana)
A gentle backbend that supports the spine, this pose encourages the heart to open and relieves lower back tension.
How to Do It:
- Lie on your back with knees bent and feet hip-width apart.
- Press into your feet and lift your hips.
- Slide a block or bolster under your sacrum.
- Rest your hips on the support and release all tension.
Hold for 5–10 minutes, maintaining a soft gaze or closed eyes.
5. Reclined Twist (Supta Matsyendrasana)
A gentle spinal twist helps release tension from the lower back and aids digestion.
How to Do It:
- Lie on your back and hug your knees into your chest.
- Drop both knees to one side while turning your head to the opposite.
- Use a blanket or pillow under the knees for support.
Hold each side for 3–5 minutes, focusing on spinal release.
6. Supported Savasana (Corpse Pose)
Savasana is the final pose of most yoga sessions and the ultimate relaxation posture.
How to Do It:
- Lie flat on your back with arms at your sides.
- Place a bolster or pillow under your knees.
- Use a folded blanket under your head and neck if needed.
- Cover yourself with a blanket for warmth.
Stay for 10–20 minutes, letting go of all effort.
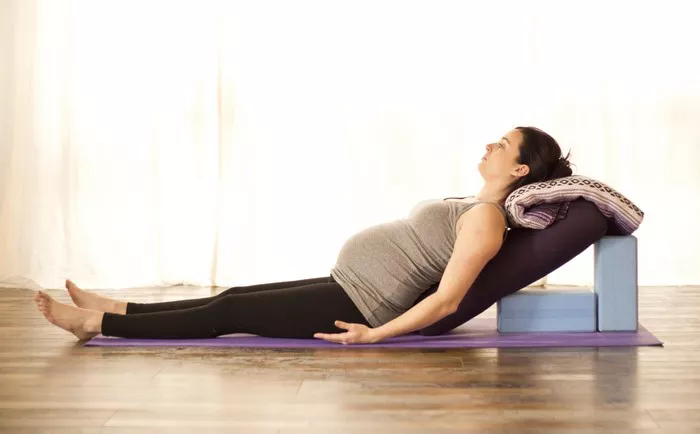
7. Supported Forward Fold (Paschimottanasana)
This seated fold, when supported, is a calming posture that stretches the back body gently and soothes the mind.
How to Do It:
- Sit with your legs extended in front of you.
- Place a bolster on your legs, angled toward your torso.
- Fold forward and rest your head on the bolster.
- Let your arms drape naturally.
Hold for 5–10 minutes, allowing breath to deepen with each exhale.
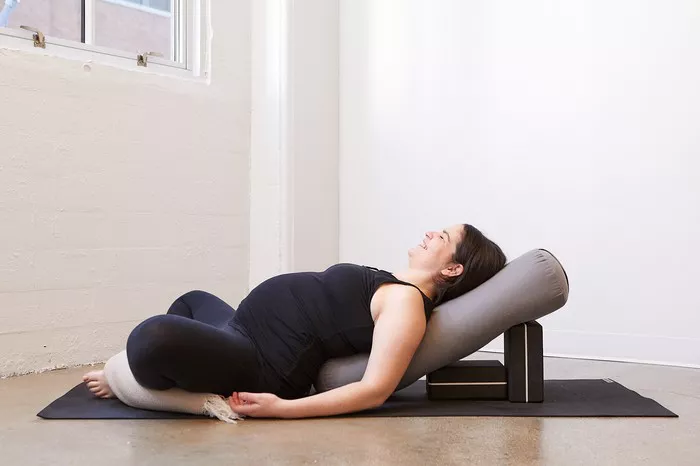
8. Supported Fish Pose (Matsyasana)
An excellent chest opener, supported fish pose helps counteract slouched posture and releases tension in the upper back.
How to Do It:
- Place a bolster or two blocks vertically along the spine.
- Lie back so the props support your head and mid-back.
- Extend your legs or bend your knees as preferred.
- Allow your arms to fall open to the sides.
Remain for 5–10 minutes, breathing into the heart space.
9. Supported Wide-Leg Forward Fold (Upavistha Konasana)
This hip-opening posture is ideal for quiet reflection and releasing the inner thighs.
How to Do It:
- Sit with legs extended wide apart.
- Place a bolster or stack of blankets in front of you.
- Gently fold forward, resting your torso on the support.
Hold for 5–10 minutes, releasing tension from the hips and inner thighs.
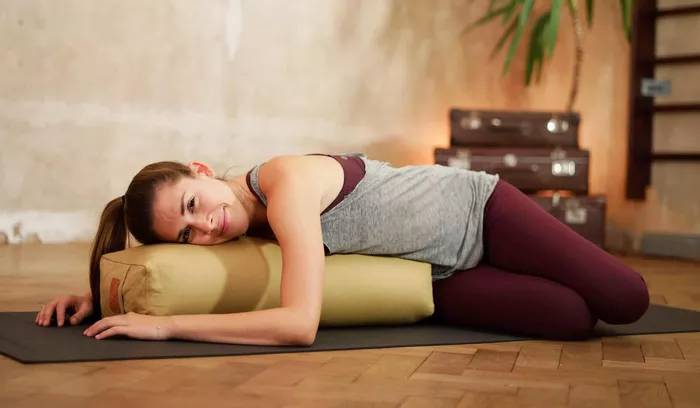
10. Side-Lying Savasana
This variation of Savasana is especially comforting for people who feel vulnerable lying flat on their back or are pregnant.
How to Do It:
- Lie on one side with a pillow between your knees.
- Place a folded blanket under your head for alignment.
- Use another blanket to cover your body for warmth.
Hold for 10–20 minutes. Focus on the breath and the support of the ground beneath you.
11. Supported Cat Tail Pose (Eka Pada Rajakapotasana Variation)
This pose offers a twist combined with a quad stretch and deep hip opening.
How to Do It:
- Lie on your side with your knees bent.
- Bring the top foot toward your bottom hand.
- Gently draw the heel toward your glutes.
- Use a blanket under your head and support under your bent knee.
Hold each side for 3–5 minutes, ensuring no tension in the spine.
Tips for a Restorative Practice
- Use props generously: Comfort is key in restorative yoga. Adjust support as needed.
- Practice in a quiet space: Reduce noise and distractions to encourage full relaxation.
- Stay warm: Cover yourself with a blanket or wear layers.
- Time each pose: Use a timer to hold poses without checking a clock.
- Focus on breath: Let your breath guide the relaxation process.
Final Thoughts
Restorative yoga provides a pathway to balance, healing, and inner peace. Whether you’re a seasoned yogi or a complete beginner, incorporating these gentle poses into your weekly routine can help reduce stress, improve your mood, and support your overall well-being. With patience and consistency, restorative yoga becomes not just a physical practice but a form of self-care and mindfulness.
Related Topics: