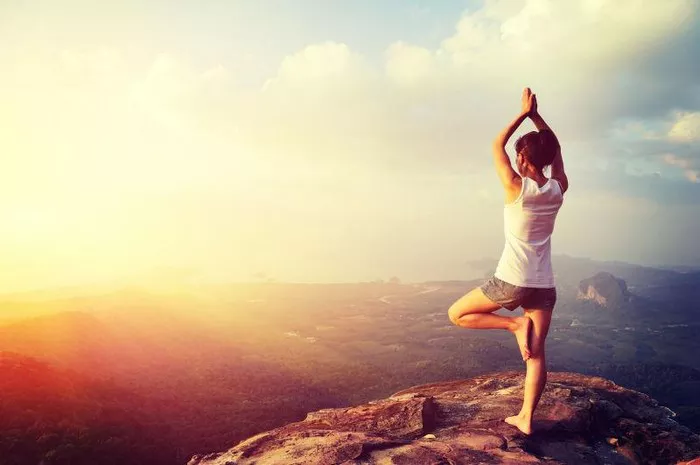
Ashtanga Yoga, often hailed as the “power yoga,” is a dynamic and structured form of yoga that follows a set sequence of postures. The word “Ashtanga” translates to “eight limbs,” representing the eightfold path of yoga outlined in the Yoga Sutras of Patanjali. These limbs include yamas (ethical restraints), niyamas (self-observances), asana (postures), pranayama (breathing techniques), pratyahara (withdrawal of the senses), dharana (concentration), dhyana (meditation), and samadhi (liberation).
Creating Your Home Yoga Studio: Essential Setup
Before diving into your Ashtanga practice, it’s crucial to create a dedicated space at home that fosters focus and tranquility. Here are some key elements to consider:
Space: Choose a quiet corner in your home where you won’t be easily disturbed. Ensure the area is well-ventilated and has enough room for you to move freely.
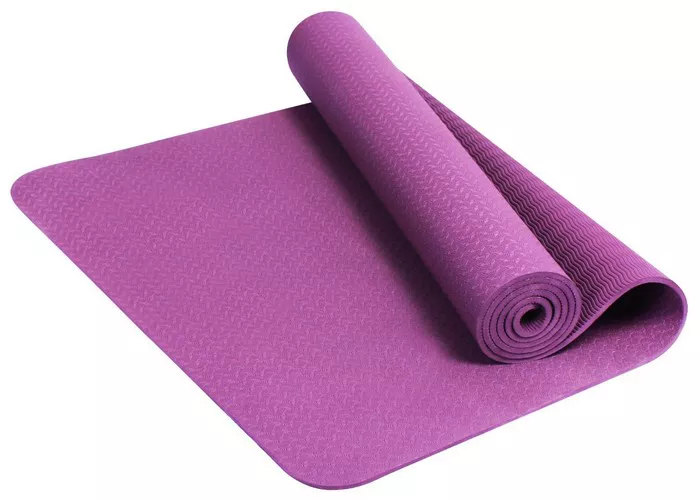
Yoga Mat: Invest in a high-quality, non-slip yoga mat that provides adequate cushioning for your joints. A good mat will also help you maintain stability during challenging postures.
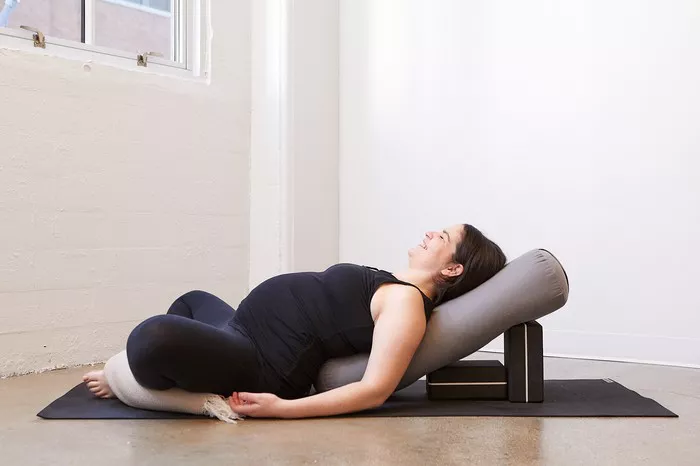
Props: Depending on your level of flexibility and strength, you may need props such as blocks, straps, and bolsters. These can assist you in achieving proper alignment and making certain postures more accessible.
Lighting: Opt for soft, natural light if possible. If practicing in the evening, use warm, dim lighting to create a calming atmosphere.
Music: Some people find it helpful to listen to calming music during their practice. Choose music that you enjoy and that helps you relax and focus.
Preparing Your Body: Warm-up and Conditioning
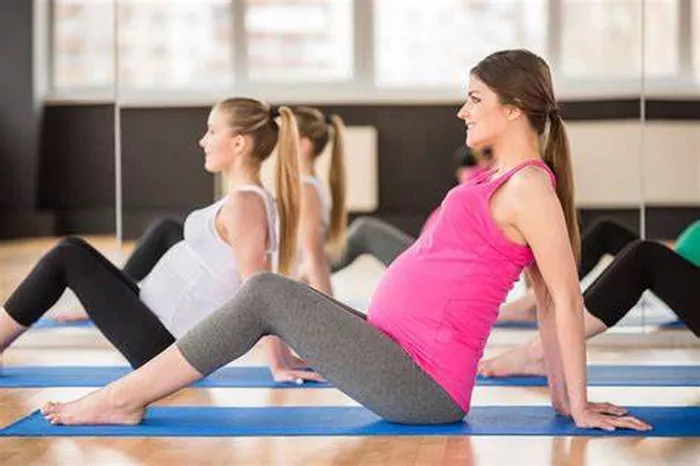
A proper warm-up is essential before starting your Ashtanga practice. It helps increase blood flow to your muscles, improves flexibility, and reduces the risk of injury. Here’s a simple warm-up routine you can follow:
Cat-Cow Stretch: Begin on your hands and knees, with your wrists under your shoulders and your knees under your hips. As you inhale, arch your back, dropping your belly towards the floor and lifting your head towards the ceiling (Cow Pose). As you exhale, round your back, tucking your chin to your chest and drawing your belly button towards your spine (Cat Pose). Repeat this movement for 10-15 breaths.
Child’s Pose: From the Cat-Cow Stretch, lower your hips towards your heels and stretch your arms out in front of you, resting your forehead on the mat (Child’s Pose). Hold this pose for 30 seconds to 1 minute, focusing on relaxing your body and taking deep breaths.
Downward-Facing Dog: From Child’s Pose, lift your hips up and back, straightening your arms and legs. Press your hands firmly into the mat, spreading your fingers wide. Keep your head between your arms, looking towards your feet. Hold this pose for 30 seconds to 1 minute, feeling the stretch in your hamstrings, calves, and shoulders.
Sun Salutations (Surya Namaskar): Sun Salutations are a series of flowing postures that warm up your entire body and synchronize your breath with movement. There are several variations of Sun Salutations, but the basic sequence typically includes Mountain Pose, Forward Fold, Plank Pose, Chaturanga Dandasana, Upward-Facing Dog, and Downward-Facing Dog. Repeat the sequence 5-10 times, focusing on maintaining a smooth and steady breath.
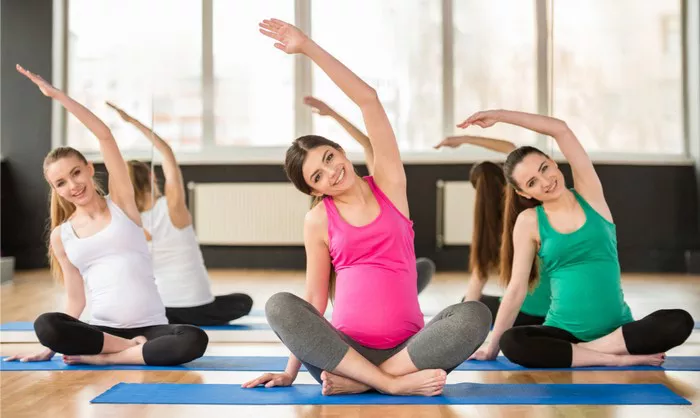
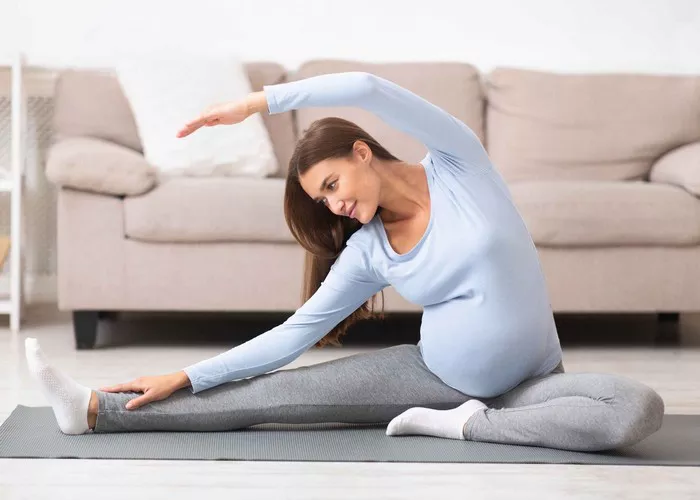
In addition to the warm-up, it’s also beneficial to incorporate some strength and flexibility exercises into your routine. This can help you build the necessary strength and flexibility to perform the Ashtanga postures safely and effectively. Some examples of strength and flexibility exercises include squats, lunges, push-ups, sit-ups, and stretching exercises for your hips, hamstrings, and shoulders.
Learning the Primary Series: Step-by-Step Instructions
The Primary Series of Ashtanga Yoga, also known as the Yoga Chikitsa, is the foundation of the Ashtanga practice. It consists of a set sequence of postures that are designed to detoxify the body, improve flexibility, and build strength. Here’s a step-by-step guide to learning the Primary Series:
Mountain Pose (Tadasana): Stand tall with your feet together, big toes touching and heels slightly apart. Engage your leg muscles, draw your belly button towards your spine, and lift your chest. Keep your arms at your sides, palms facing forward. Focus on maintaining a straight spine and even breathing.
Forward Fold (Uttanasana): From Mountain Pose, hinge at your hips and fold forward, reaching for your toes or ankles. Keep your knees slightly bent if needed. Let your head hang heavy, relaxing your neck and shoulders. Hold this pose for 30 seconds to 1 minute, breathing deeply.
Half Forward Fold (Ardha Uttanasana): From Forward Fold, place your hands on the floor or on your shins and lift your chest, straightening your back. Keep your head between your arms, looking towards your feet. Hold this pose for 30 seconds to 1 minute, breathing deeply.
Plank Pose (Phalakasana): From Half Forward Fold, step back with your feet, one at a time, into Plank Pose. Keep your body in a straight line from head to heels, engaging your core muscles. Press your hands firmly into the mat, spreading your fingers wide. Hold this pose for 30 seconds to 1 minute, breathing deeply.
Chaturanga Dandasana: From Plank Pose, lower your body towards the floor, keeping your elbows close to your sides. Lower your body until your upper arms are parallel to the floor. Keep your core engaged and your body in a straight line. Hold this pose for 1 breath.
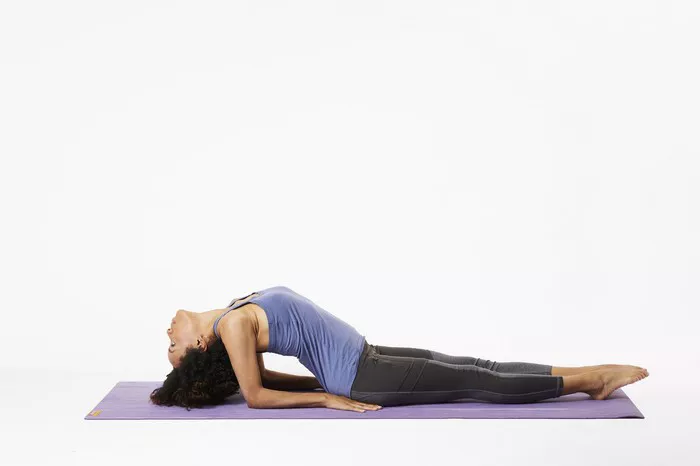
Upward-Facing Dog (Urdhva Mukha Svanasana): From Chaturanga Dandasana, press your hands into the mat and lift your chest, straightening your arms. Keep your legs straight and your feet on the floor. Arch your back, looking towards the ceiling. Hold this pose for 1 breath.
Downward-Facing Dog (Adho Mukha Svanasana): From Upward-Facing Dog, lift your hips up and back, straightening your arms and legs. Press your hands firmly into the mat, spreading your fingers wide. Keep your head between your arms, looking towards your feet. Hold this pose for 30 seconds to 1 minute, breathing deeply.
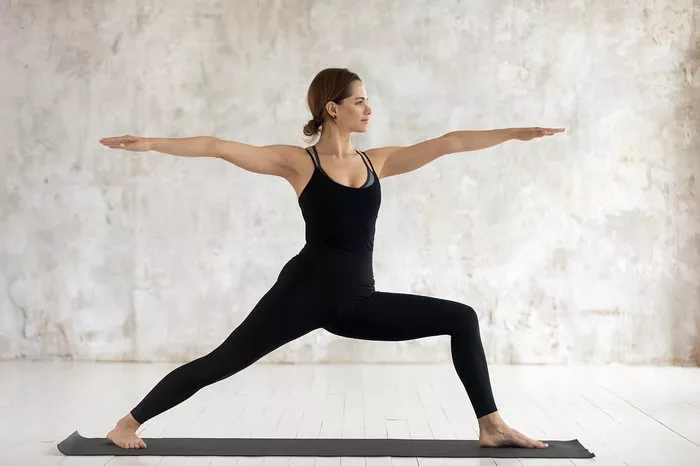
Warrior I Pose (Virabhadrasana I): From Downward-Facing Dog, step your right foot forward between your hands, bending your right knee. Keep your left leg straight and your left heel on the floor. Lift your chest and look forward. Hold this pose for 30 seconds to 1 minute, breathing deeply. Repeat on the left side.
Warrior II Pose (Virabhadrasana II): From Warrior I Pose, turn your left foot out 90 degrees and your right foot in slightly. Extend your arms out to the sides, parallel to the floor. Keep your right knee bent over your right ankle and your left leg straight. Look out over your right hand. Hold this pose for 30 seconds to 1 minute, breathing deeply. Repeat on the left side.
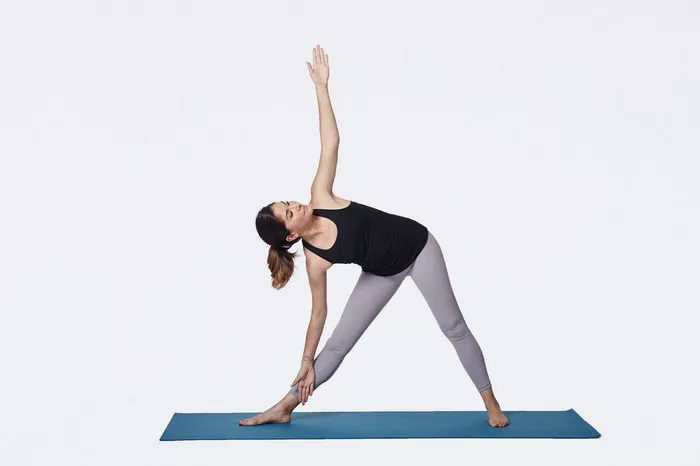
Triangle Pose (Trikonasana): From Warrior II Pose, straighten your right leg and reach your right hand down towards your right ankle or the floor. Extend your left arm up towards the ceiling, keeping your body in a straight line. Look up towards your left hand. Hold this pose for 30 seconds to 1 minute, breathing deeply. Repeat on the left side.
This is just a brief overview of the Primary Series. There are many more postures in the sequence, and it’s important to learn them gradually and under the guidance of a qualified instructor. As you progress through the series, you’ll notice improvements in your strength, flexibility, and overall well-being.
Synchronizing Breath and Movement: The Key to Ashtanga Yoga
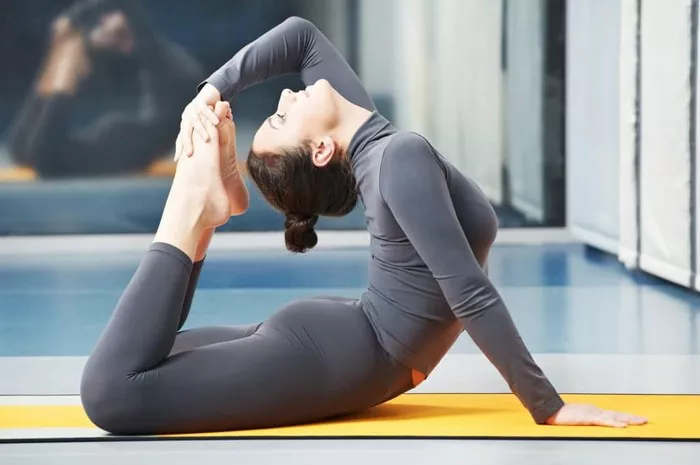
One of the defining characteristics of Ashtanga Yoga is the synchronization of breath and movement. This is known as vinyasa, and it involves flowing from one posture to the next in a continuous sequence, coordinated with your breath. The vinyasa system helps to create a dynamic and flowing practice that builds heat in the body, detoxifies the system, and improves focus and concentration.
To synchronize your breath and movement, start by inhaling as you lift your body up and exhaling as you lower your body down. For example, when moving from Forward Fold to Half Forward Fold, inhale as you lift your chest and straighten your back. When moving from Half Forward Fold to Plank Pose, exhale as you step back with your feet. As you flow through the postures, focus on maintaining a smooth and steady breath, inhaling and exhaling deeply through your nose.
Modifying Postures: Adapting to Your Body’s Needs
As you learn Ashtanga Yoga at home, it’s important to listen to your body and make modifications to the postures as needed. Everyone’s body is different, and what works for one person may not work for another. Here are some tips for modifying postures:
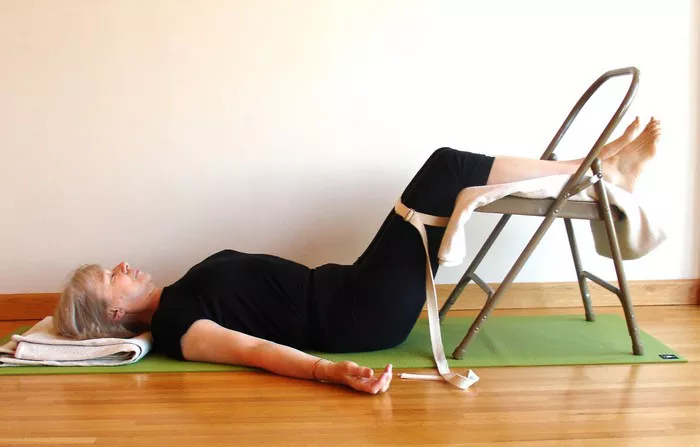
Use Props: Props such as blocks, straps, and bolsters can be extremely helpful in making postures more accessible and comfortable.
Modify the Alignment: If a posture feels uncomfortable or painful, it may be because your alignment is off. Pay attention to the alignment cues for each posture and make adjustments as needed.
Take Breaks: If you start to feel tired or fatigued during your practice, take a break. It’s important to listen to your body and give it the rest it needs. You can take a few deep breaths in Child’s Pose or lie down in Savasana for a few minutes to recharge.
Practice at Your Own Pace: Don’t feel pressured to keep up with a particular pace or sequence. Ashtanga Yoga is a personal practice, and it’s important to go at your own speed. If you need to spend more time in a particular posture or skip a posture altogether, that’s okay. The most important thing is to listen to your body and practice in a way that feels good for you.
Conclusion
Learning Ashtanga Yoga at home can be a rewarding and fulfilling experience. By following the tips and guidelines outlined in this article, you can create a safe and effective home practice that helps you improve your strength, flexibility, and overall well-being. Remember to start slowly, listen to your body, and be patient with yourself. With consistent practice and dedication, you’ll be able to master the art of Ashtanga Yoga and experience the many benefits it has to offer.